Most lead magnets get downloaded and forgotten. An interactive tool gets used. And the person using it tells you what they need while they do it.
This guide walks through one complete campaign, from an empty account to a published link. Live in under an hour, and most of that hour is filling in your profile once, which you never have to do again.
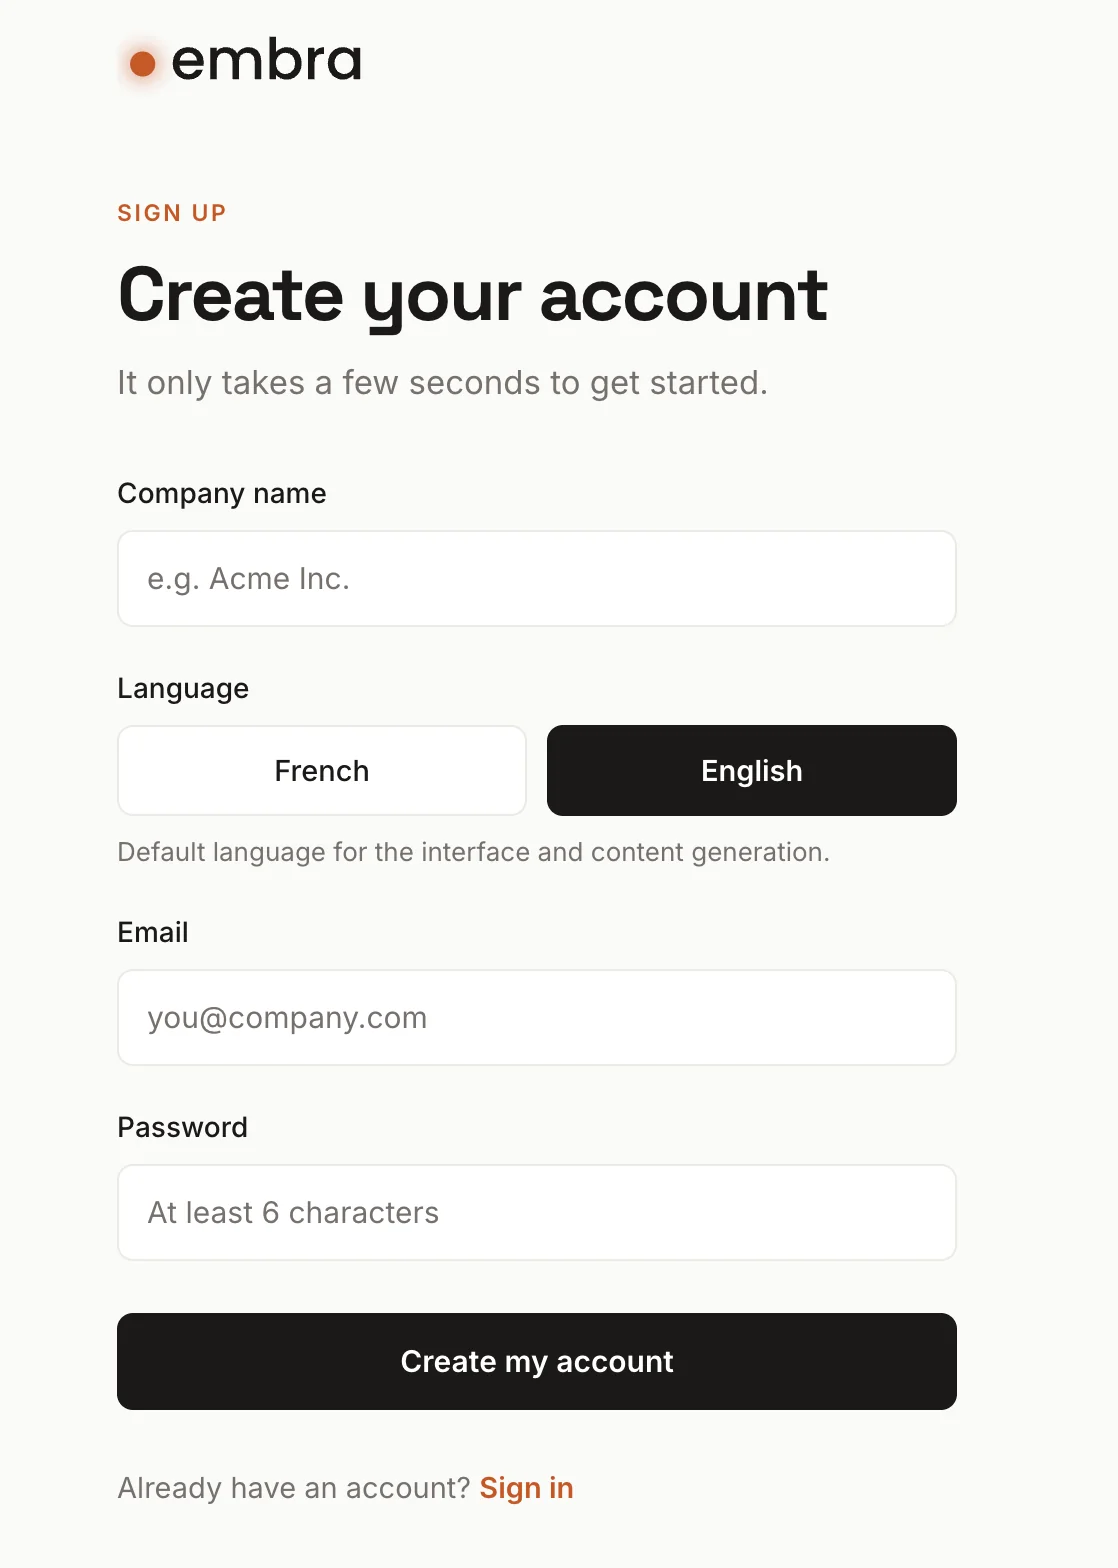
1. Create your account
Go to embraapp.com and click Get started. An email address, a password, no credit card. Embra takes you straight to your company profile, which is where the real work starts.
2. Fill in your company profile
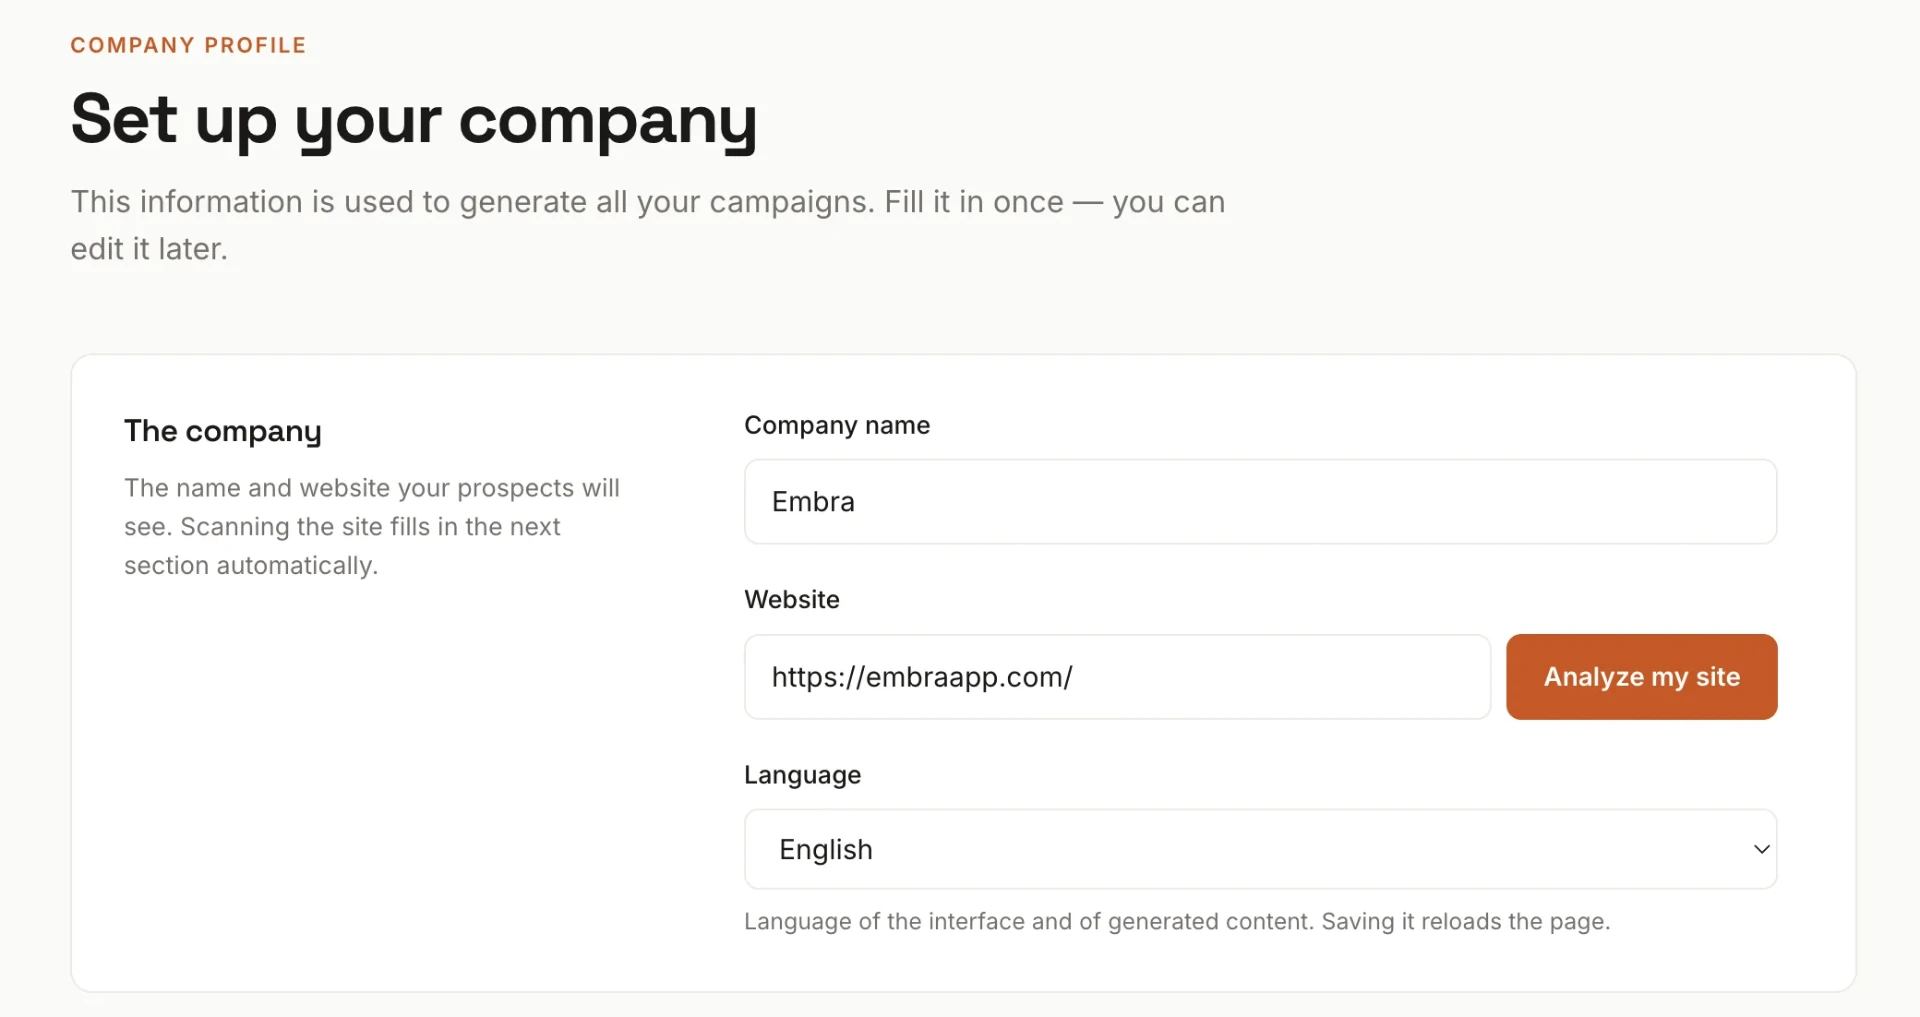
This is the one screen that feeds everything else. Every tool, every LinkedIn post and every email Embra writes for you is generated from what you put here. You are already on it after signing up. Later on you will find it under My profile, bottom left of the menu.
There are two ways to fill it in.
From your website. Paste your URL in the Website field and click Analyze my site. Embra reads your site and fills in the fields below it. Read them over and correct what is off. It is a first draft, not a verdict.
By hand. Three fields are required: what you sell, your target audience, and the problems you solve. Write them the way you would explain them to a prospect over coffee, not the way you would write them on a homepage. Specific beats polished here. "Independent pricing consulting for B2B SaaS companies between $1M and $10M ARR" produces a sharper tool than "growth consulting."
Then a few dropdowns: B2B or B2C, your industry, your company size, and the tone you want your campaigns to take. Three options there: direct and punchy, consultative and reassuring, or neutral and factual. If you plan to end your tools with a meeting request, paste your booking link in the field at the bottom. Calendly, Cal.com and HubSpot all work, and so does anything else that gives you a URL.
Click Save my profile. You are done with it. You can edit it any time, but you will rarely need to.
Saving takes you to your Dashboard: campaigns created, campaigns published, leads captured, all at zero for now. The left menu has five entries: Dashboard, My campaigns, Prospecting, Content Radar, Brand kits. You will use two of them today.
Optional, five minutes, worth it: Brand kits. Your logo, your accent color, your key figures, the clients you want named. Embra applies them to every tool you publish. Create one kit per offer or per client if you work across several brands.
3. No idea for your first campaign? Embra has one for you
This is where most people stall. Blank page, no topic, tool never gets built.
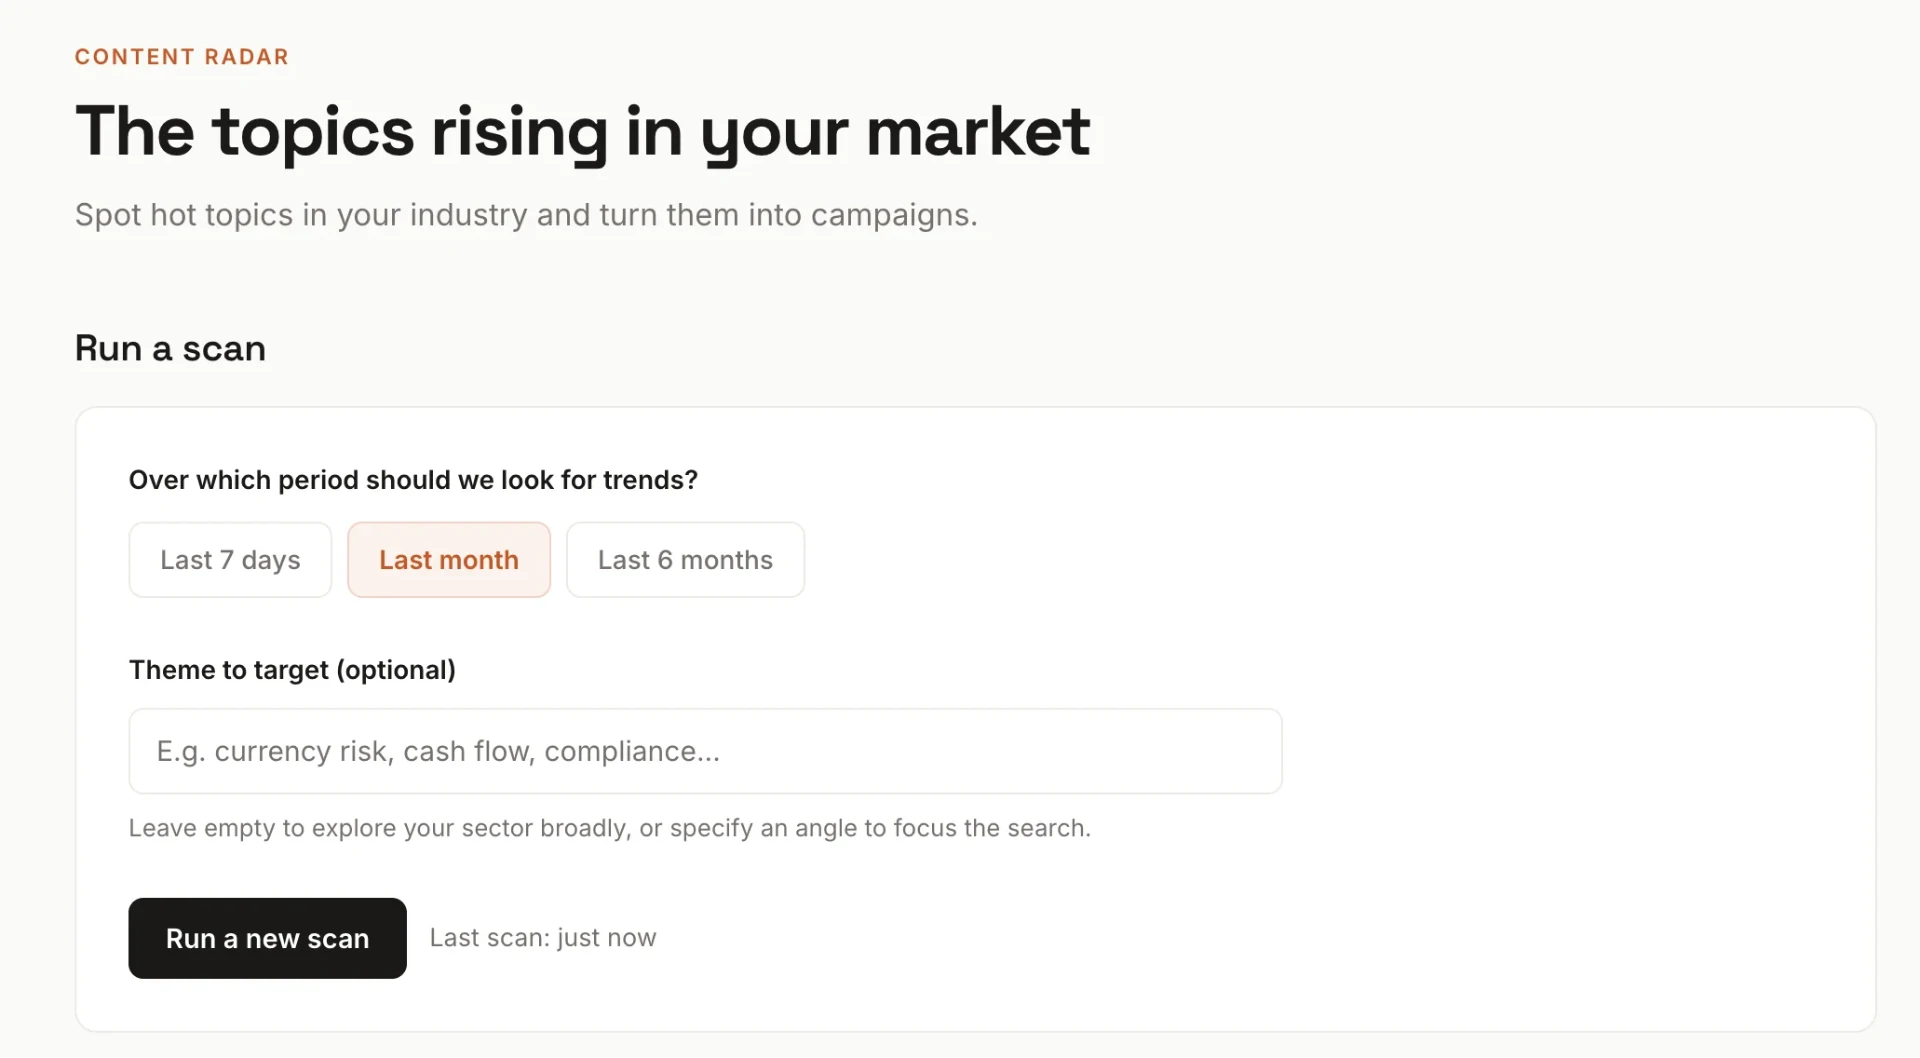
Open Content Radar. Choose a window (last 7 days, last month, or last 6 months), leave the theme field empty to scan your sector broadly, and click Run a new scan.
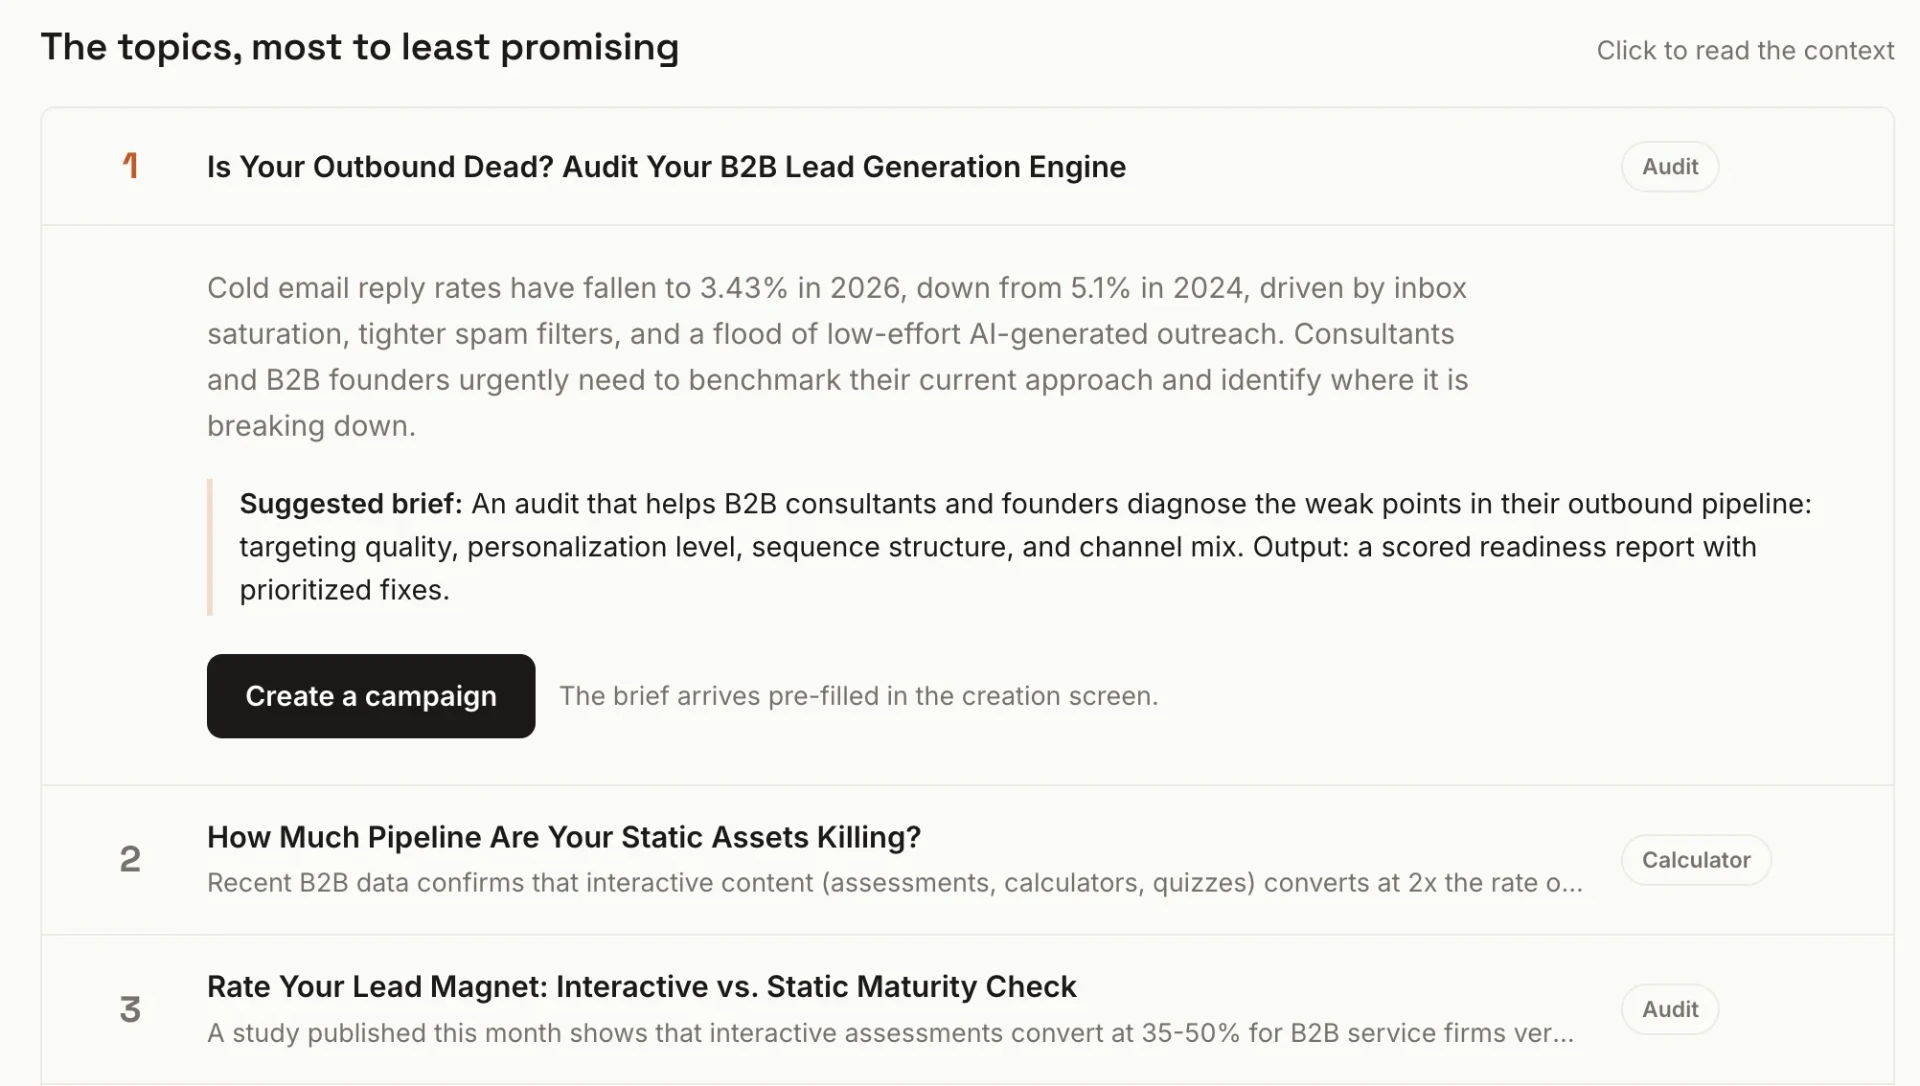
Embra reads what is being published and argued about in your market, then comes back with topics. Each one is a card: a suggested format (audit, calculator, positioning matrix, guide), a relevance score out of 10, and a short paragraph explaining why the topic is live right now. The number of sources consulted is displayed next to the scan, and every scan is dated and kept, so you can always go back to an earlier one.
Pick the card that makes you think "I actually have something to say about that." Score first, instinct second. Click Create a campaign.
4. Generate the campaign
The creation form opens with the topic already written out: the angle, the audience, and what the tool should diagnose or calculate. Edit it or leave it alone.
Three things left to set.
- Specific audience. Optional. Leave it empty and Embra uses the persona from your profile.
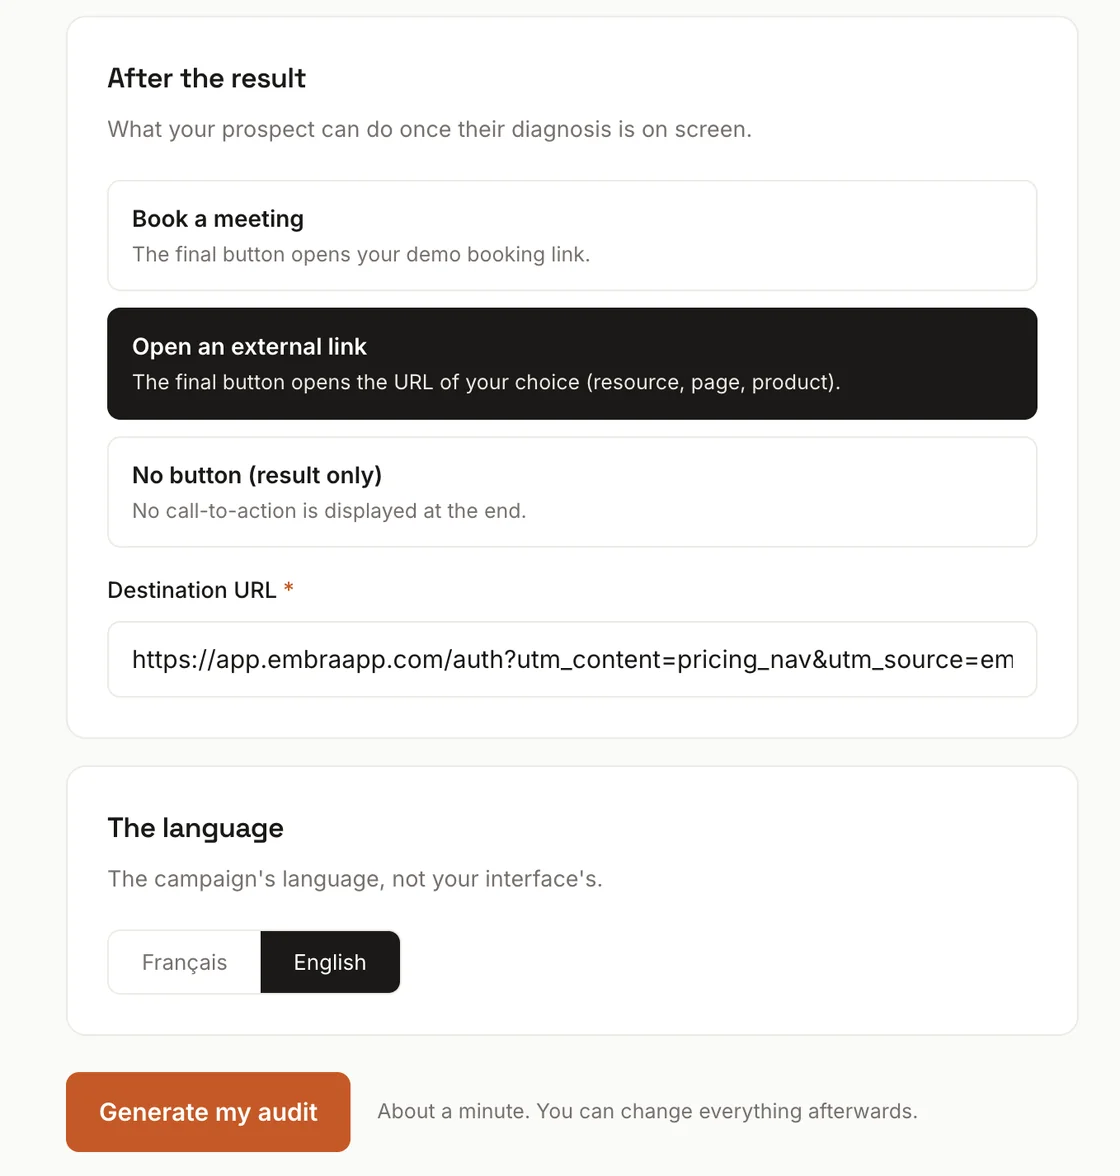
- What the prospect does after the result. Book a meeting through your booking link, open an external link of your choice, or no button at all.
- Language. French or English, chosen per campaign.
Click Generate my campaign. About twenty seconds later you have a working tool: questions, scoring, result tiers, your branding, all of it.
Read it through as a prospect would. If a question is worded badly or a verdict does not sound like you, open the Edit texts tab and rewrite it. Scoring, calculations and structure stay untouched, so you cannot break the tool by changing the words.
5. Publish
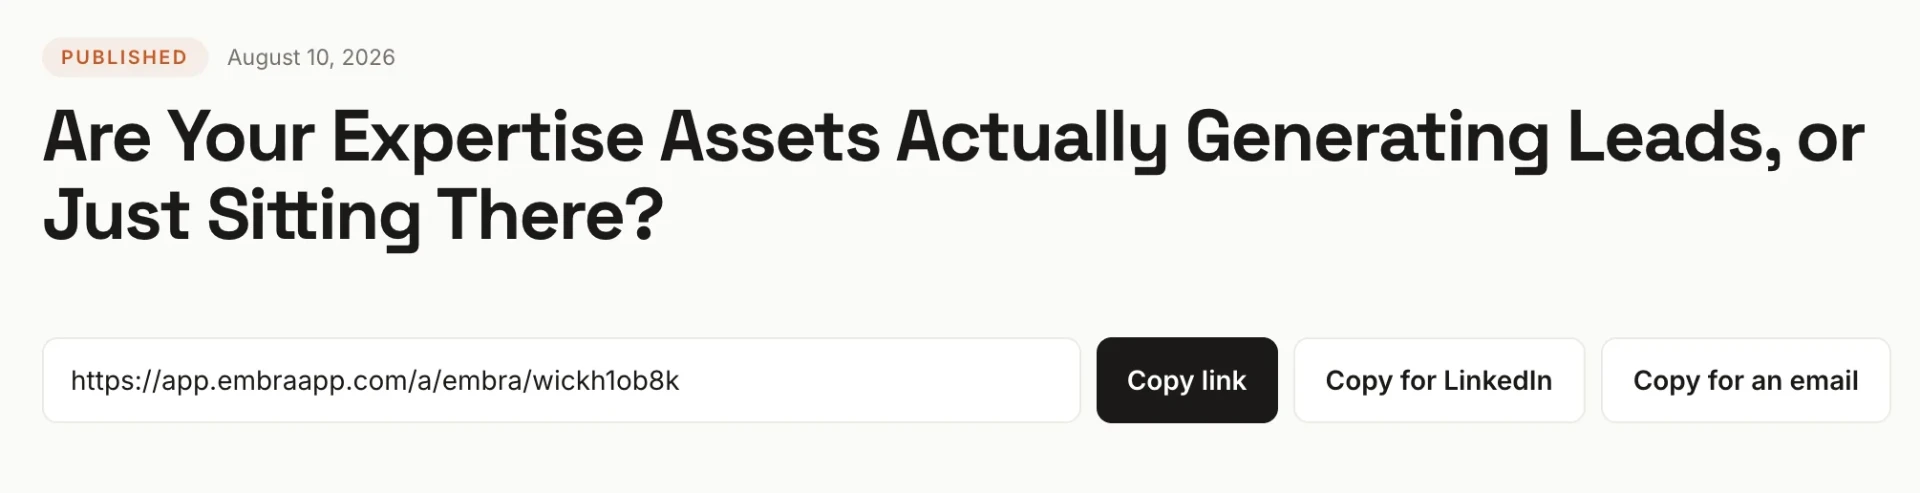
Your campaign is waiting in My campaigns with a DRAFT label. Open it and click Publish and get the link.
That is the whole publishing step. You get a public URL, plus a Copy for LinkedIn and a Copy for an email button next to it.
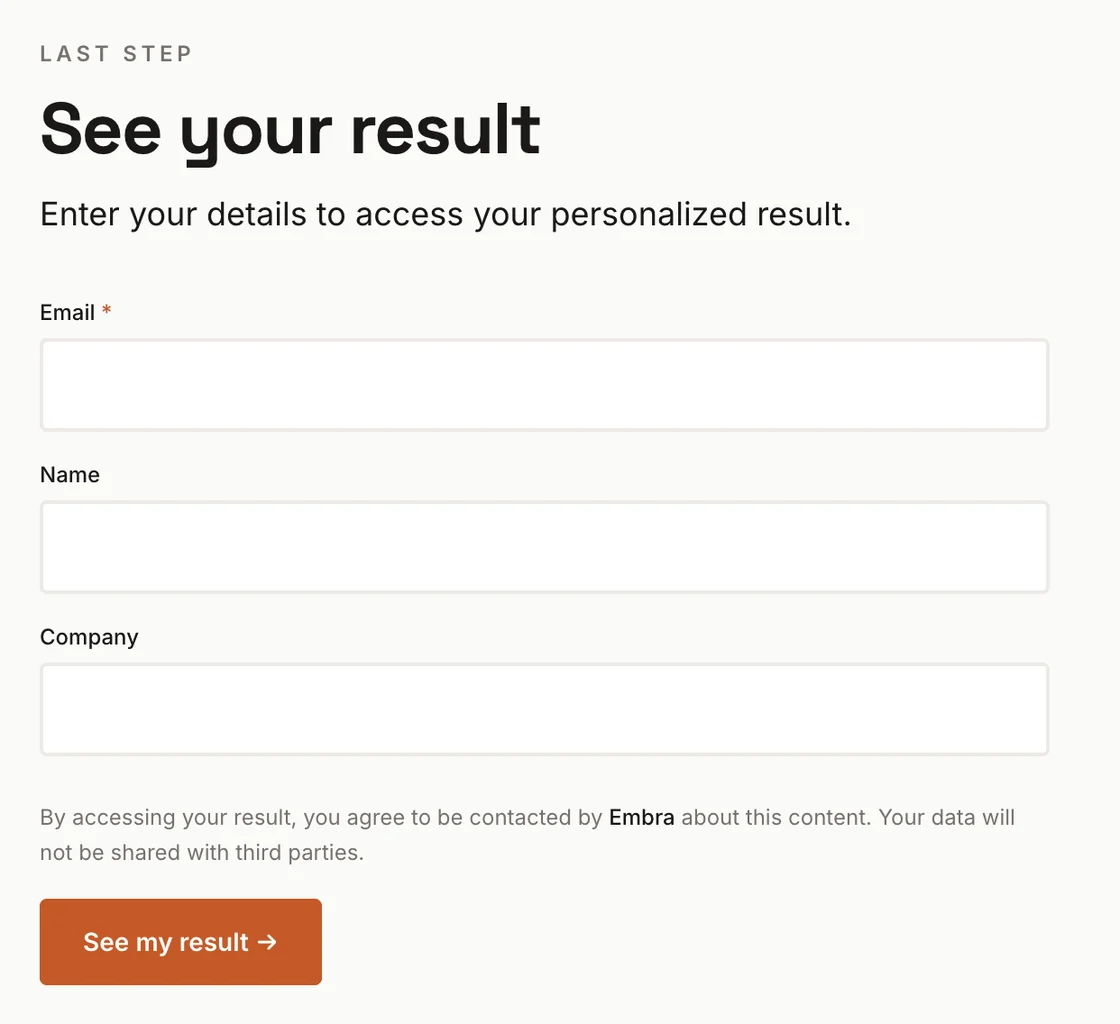
Your prospect meets the tool first and the form last. They work through the steps, and only on the final screen do they enter their email, name and company to see their result. They have already put four minutes in by that point, which is exactly why this converts better than a download gate.
6. Get it in front of people
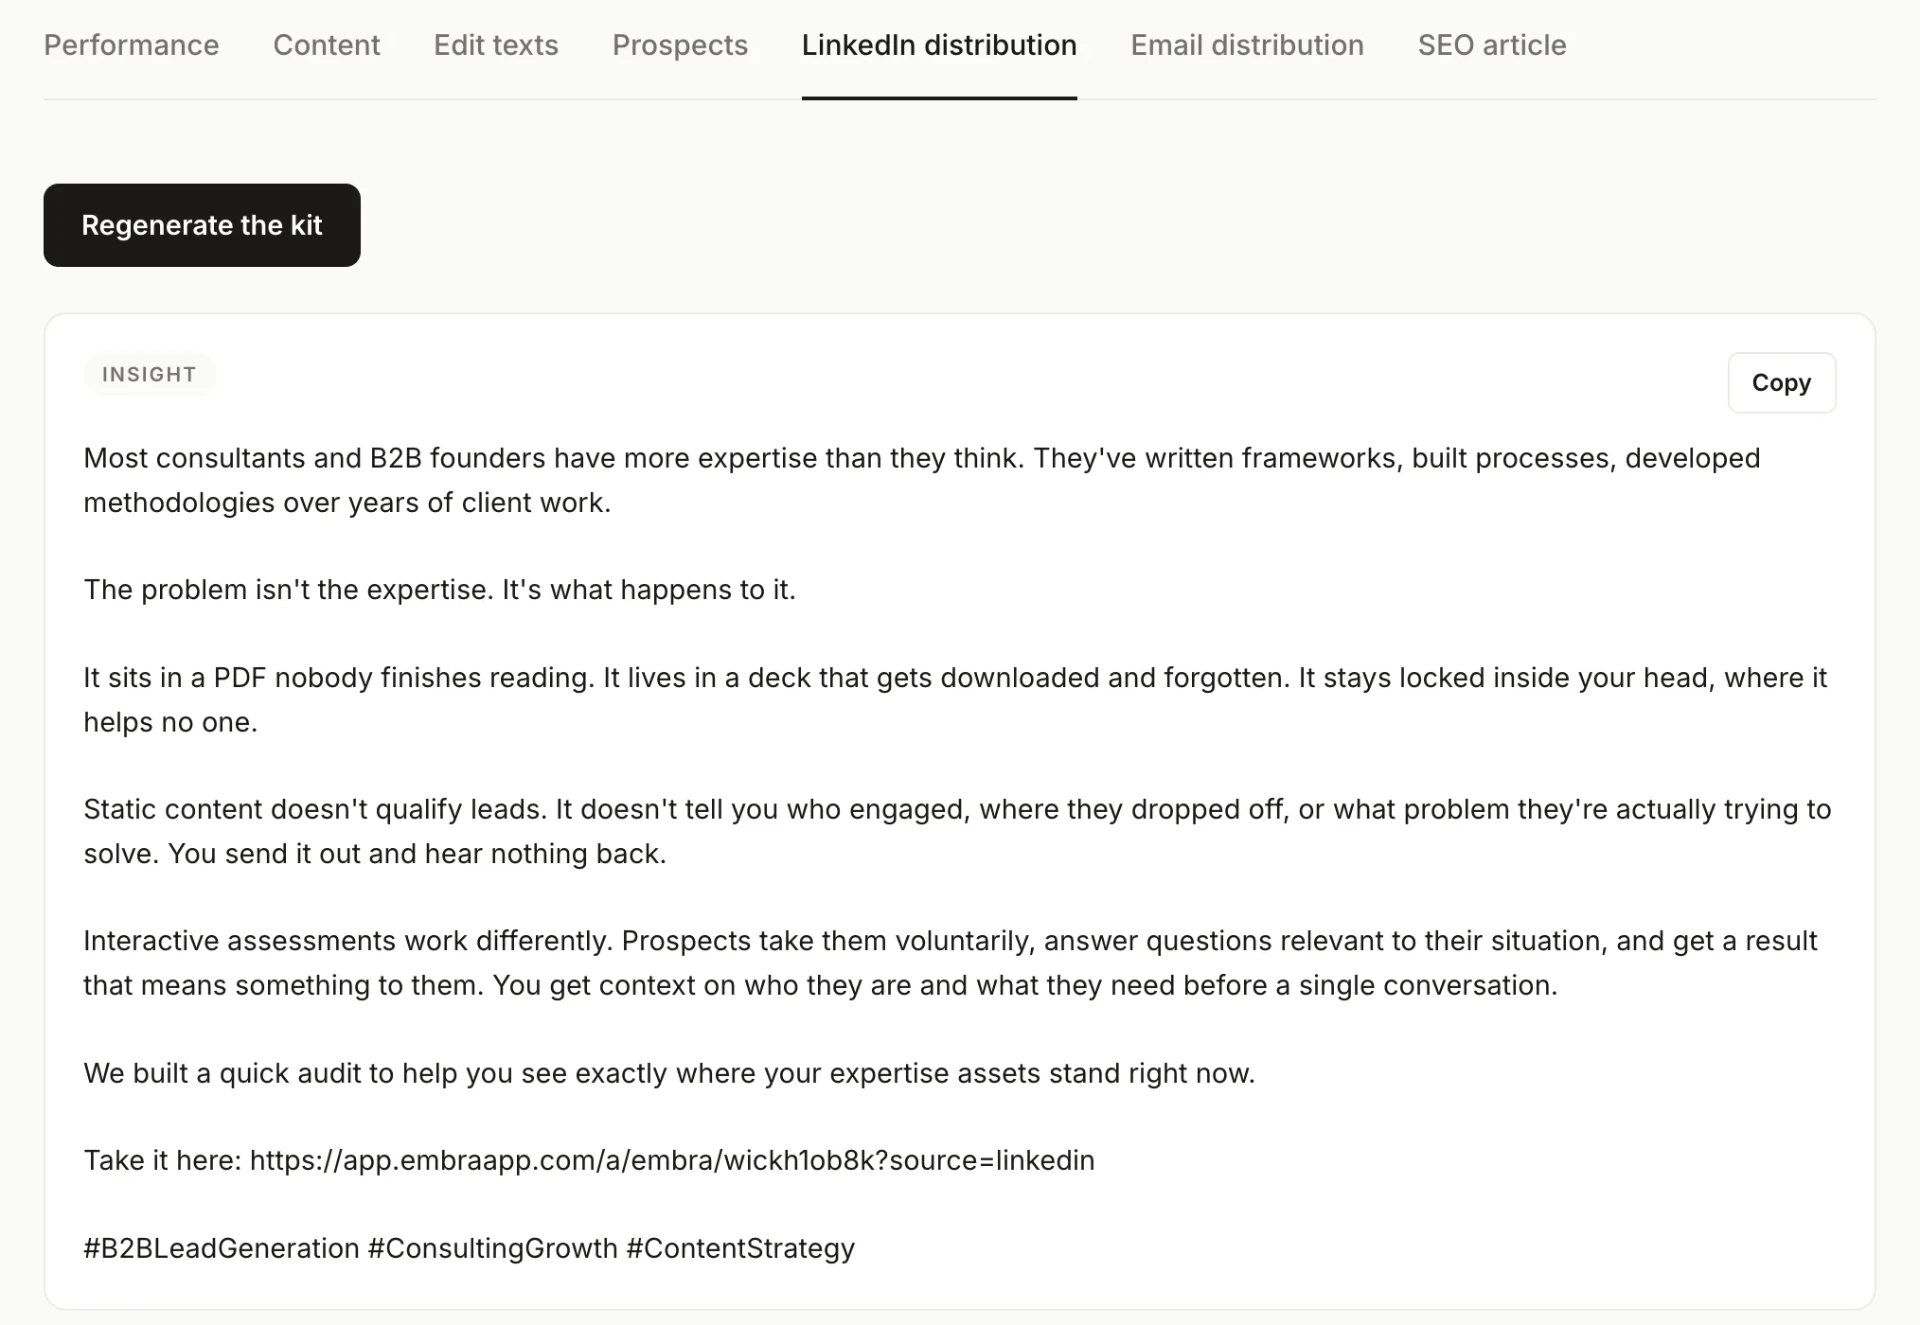
A published link nobody sees captures nobody. Open the LinkedIn distribution tab and click Generate my distribution kit.
You get three LinkedIn posts written in your voice, each taking a different angle. One leads with an insight, one opens with a question, one tells a piece of experience. A three-email sequence comes with them. Every link is already tagged by channel, so the Performance tab can tell you afterward whether LinkedIn or email brought the visit. Copy, paste, publish.
Now you just have to watch the leads land
Visitors, clicks on the final button and capture rate show up in the Performance tab. The leads themselves land in the Prospects tab of the campaign, each with the answers they gave you attached. You walk into the first call already knowing what they are dealing with.